3D Text
This section explains how to create and customize 3D Text within our Threedium Platform. It covers everything from adding a new text object, assigning materials, adjusting position and scale, to fine-tuning appearance settings like font, depth, bevel etc.
The 3D text feature lets you easily add and customize text directly inside your 3D scene. You can control its look, position, and behavior, just like any other 3D object.
Creating a new 3D Text
- Go to the Materials tab.
- Find the 3D text icon on the left side.
- Click the
+(plus) icon next to 3D Text. - A new 3D text object will appear in the viewport.
- (Optional) Rename it for better organization, especially if you plan to add more than one text object.

Assigning Materials
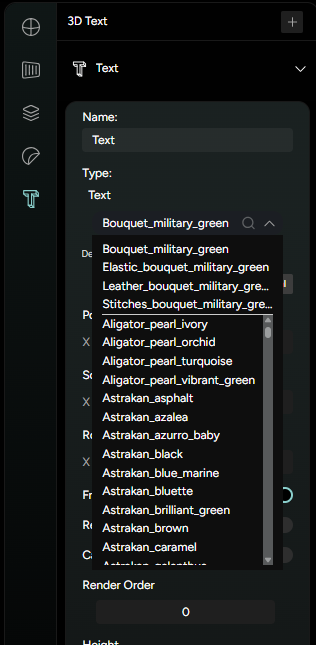
You can apply any material available in your current workspace to the 3D text.
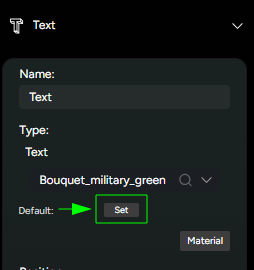
- In the 3D text settings, open the material dropdown and choose from the material list in your workspace.
- Click Set if you want this material to be set as default.
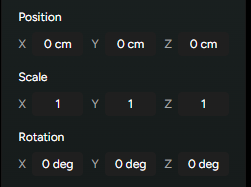
Transform Controls
You can adjust the 3D text object like any other object in the scene:
- Position (x, y, z) - move the 3D text around in the scene.
- Scale (x, y, z) - resize the text proportionally or along a single axis.
- Rotation (x, y, x) - rotate the text object.
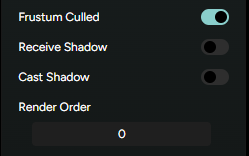
Rendering & Shadows
- Frustum Culled - Toggle this to control whether the text is hidden when outside the camera view.
- Cast Shadows - enable this if you want the 3D text to cast shadows onto other objects.
- Receive Shadows - enable this if you want the 3D text to receive shadows from other objects.
- Render Order - Type a number to control which objects render first (higher number render on top).
3D Text Appearance Settings
- Height - controls the depth of the text extrusion in cm.
- Text - Enter the words you want to display.
- Font URL - add a custom font by pasting the font’s URL.
- Horizontal Alignment - Choose Left, Center or Right alignment.
- Curve Settings - adjust the number to control the smoothness (higher values = smoother curves).
- Size - set the overall text size in cm.

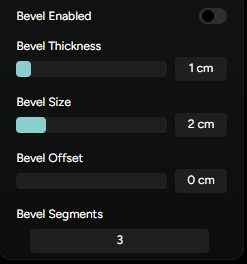
Bevel Options
Enable Bevel to give your text a more 3D, polished look:
- Bevel Thickness - Controls how deep the bevel goes.
- Bevel Size - adjusts how wide the bevel appears.
- Bevel Offset - moves the bevel in or out for a sharper or softer look.
- Bevel Segments - number of subdivisions for a smoother bevel (higher=smoother).