Tips and Tricks
With Action setup out of the way, we can now highlight some common practices that make products come to life.
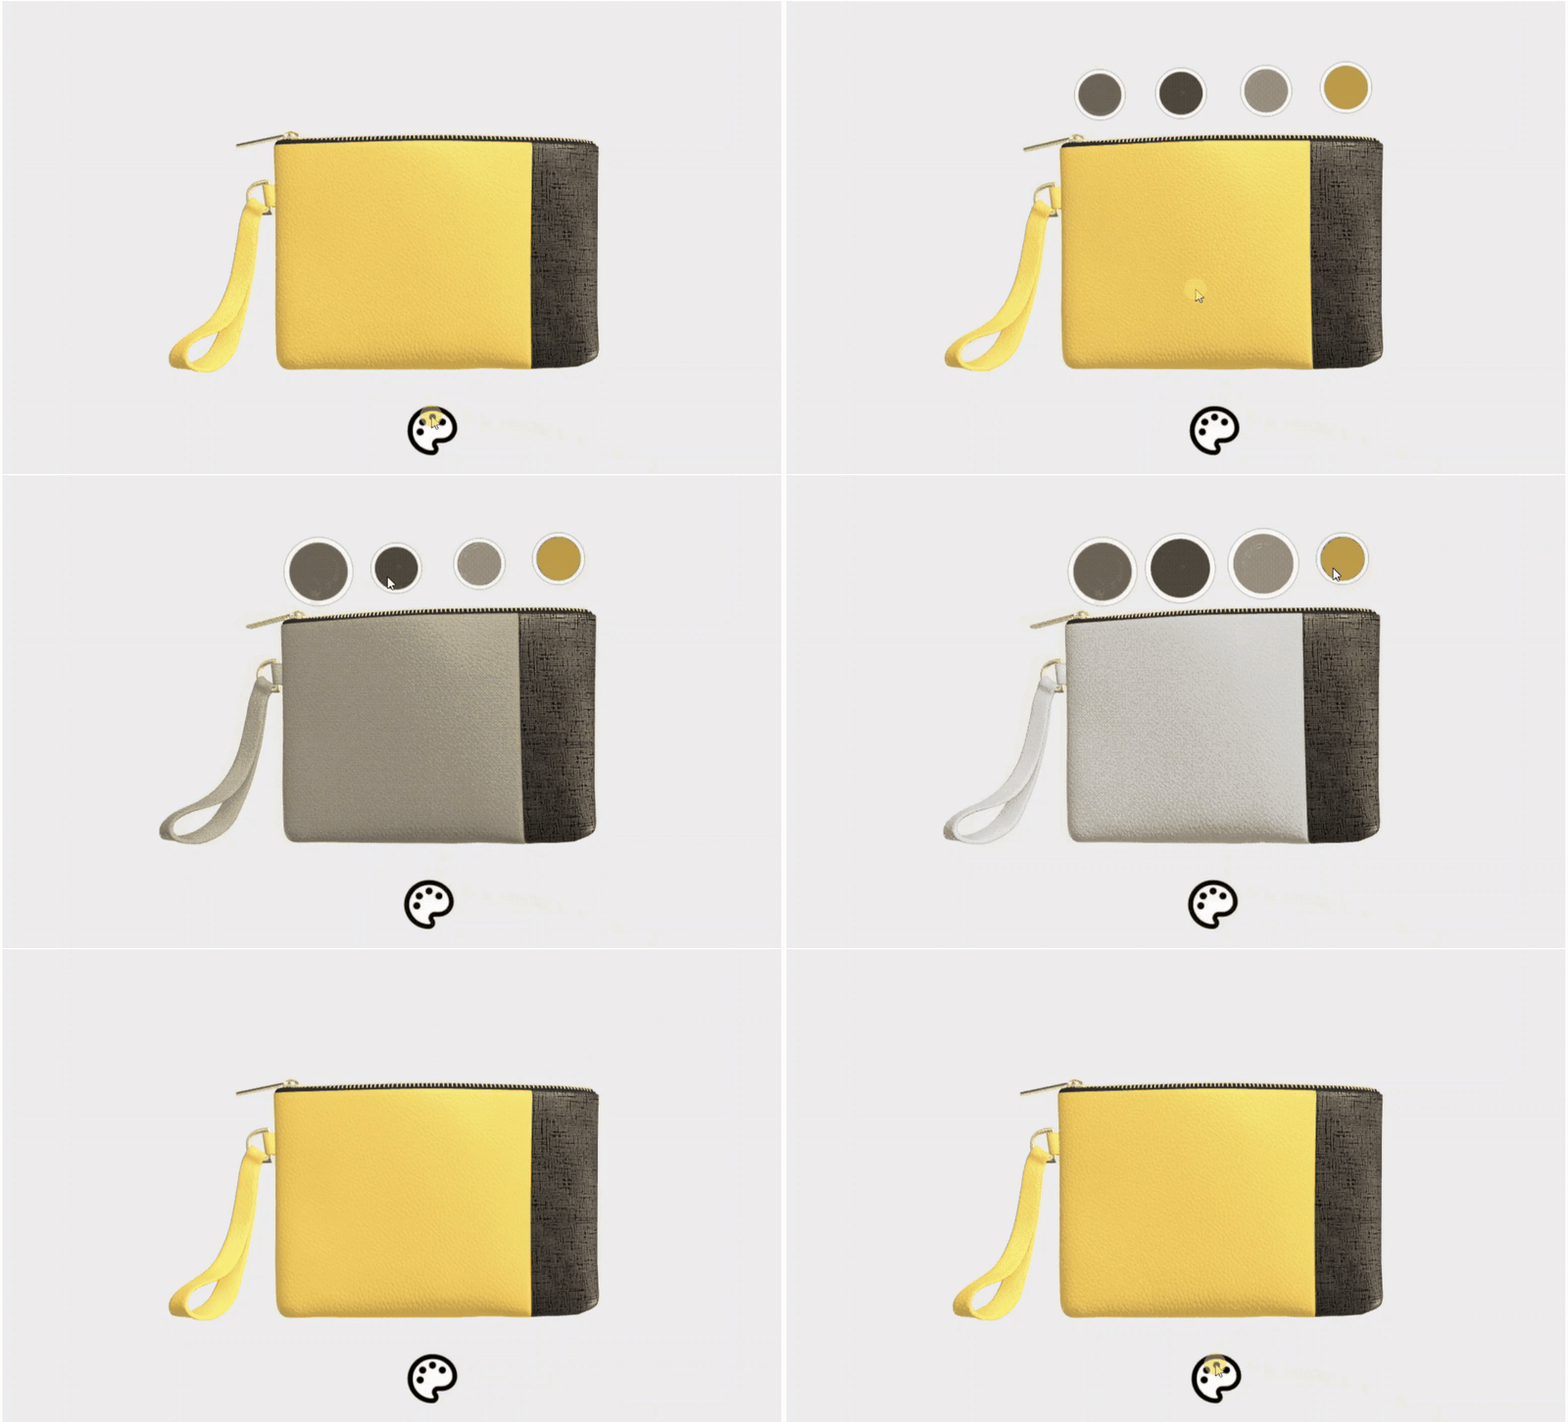
The most employed Rule setup is binding Actions to Hotspots via “(pointer)Click” and optionally chaining them together with Transition ended/repeated, to achieve some functional flow. As Hotspots are usually used interchangeably, with Hotspots for commencing certain Actions, and, usually, Hotspots that trigger inverse actions, such as returning the Scene to a Default State, we advise making the most use out of Show/Hide Modifiers to create an optimal and intuitive experience flow.

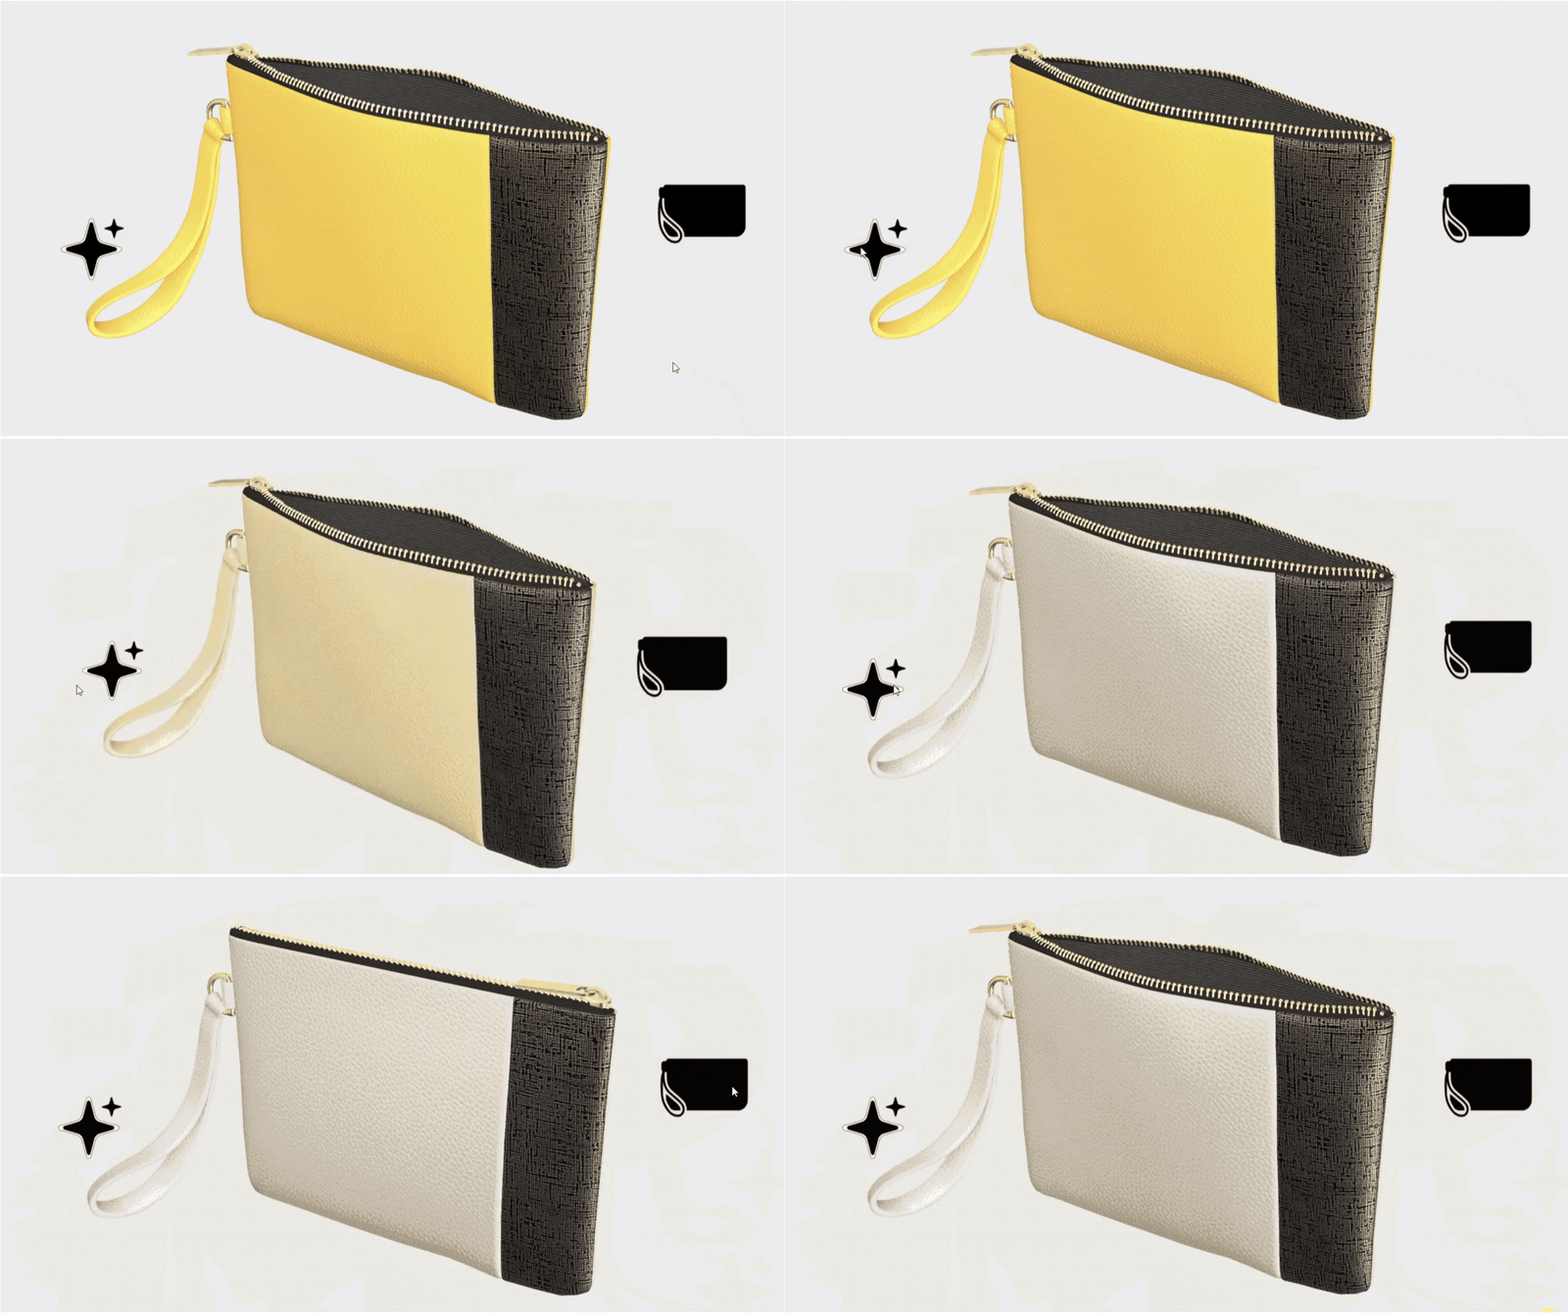
Alternatively, most parts or Annotations can be scaled to null-existence 0,0 (x,y)/0,0,0 (x,y,z) and scaled up via Annotation/Mesh node Transition to their default size in a Duration set to “0”, to make them look like they’re appearing out of nowhere. When we need the same annotation to look like it is triggering an Action and its inverse counter-part, we can place two different annotations, with the same material in exact coordinates and have one be scaled to 0 by default. Once the Action is performed, we can set the said annotation to be scaled back to standard dimensions and initial one to be scaled to 0 in the Duration period of “0”, to make it look like one annotation is triggering two different functions one after the other.
