Overlays
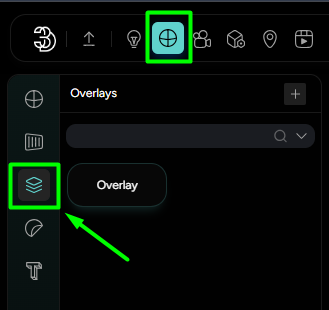
The Overlays feature is available in the Materials tab, the third icon on the left side (Figure). This tool allows you to add custom elements such as logos, labels and other graphical/textual elements directly onto a selected part of your 3D model.
Adding an Overlay
To add an Overlay:
- Click on the part of the model where you want the overlay to appear.
- Press the plus
+button to create a new overlay. - Name the overlay.
- Choose between two types of overlays:
- Image
- Text
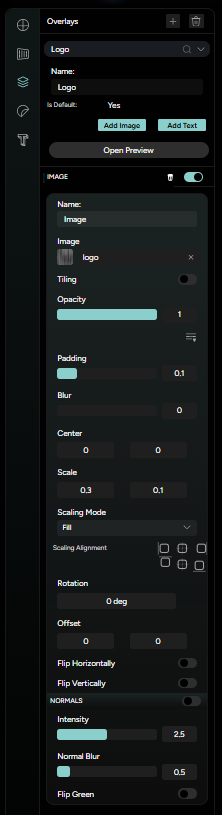
Image Overlay
After selecting Add image, the following settings are available:
Name of the image overlayImporting image fileTilling toggleOpacity sliderAdvanced settings(padding, blur, scale, rotation, offset etc.)Normals tab
You can also click on the Open Preview button to view the UV layout of the selected part (Figure 2). This allows for precise placement and adjustment of your image overlay directly on the model’s surface. Within the UV layout window, you’ll find the following tools:
- Select Overlay - a dropdown menu that lets you switch between multiple overlays applied to the selected part
- Toggle UV Channel - a button that allows you to switch between available UV channels
- Toggle UV Coordinates - shows or hides the UV lines/grid
- Change UV coordinates color (using a color picker)
- Toggle texture - enables or disables the texture background beneath the UV lines
- Exit (X icon) - closes the UV layout window

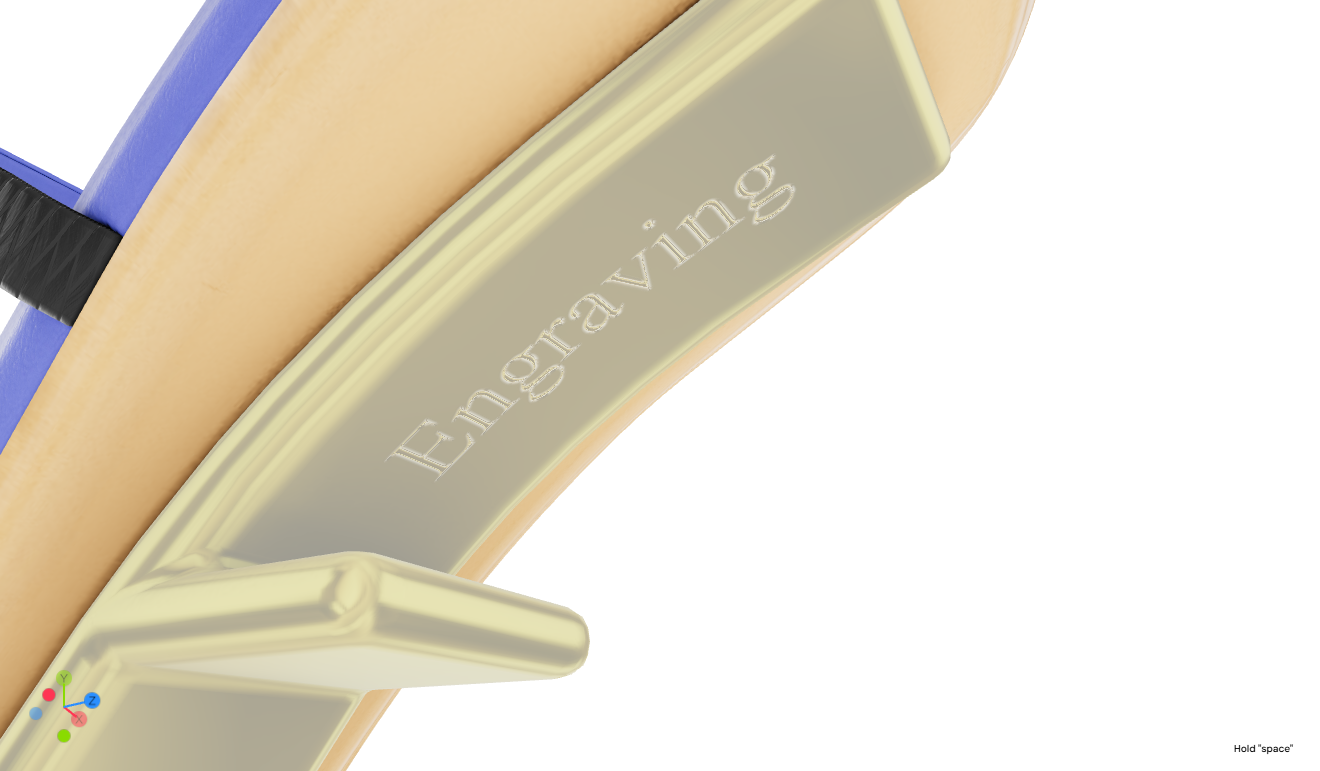
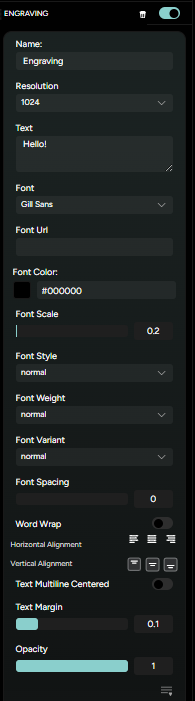
Text Overlay
To add a text overlay, click the Add Text button after selecting the desired part. A new text overlay will appear with the following customizable settings:
Overlay name- name your text overlay for better organization.Text- input the actual text content.Font- select from available fonts.Font Url- load a custom font using a URL.Font Color- set the color of the text.Scale- adjust the size of the text.Font Style- choose between Normal, Italic or Oblique.Font Weight- define the thickness of the font.Font Variant- choose small caps or normal.Spacing- adjust letter spacing.Word Wrap toggle- enables or disables automatic line breaks.Horizontal Alignment- align text left, center or right.Vertical Alignment- align text top, middle or bottom.Text multiline centered toggle- center multiline text blocks.Text margin- set margins around the text.Opacity- adjust transparency.Resolution- define the resolution of the text overlay.Advanced settings- same as for the Image overlay.
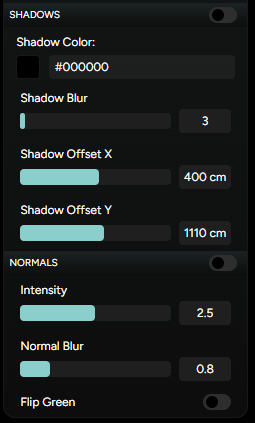
Shadow Tab
- Shadow color: choose the shadow color using a color picker
- Shadow blur: adjust how soft or sharp the shadow appears
- Shadow Offset X / Y: move the shadow relative to the text
Normals tab:
- Intensity: set how strongly the normal effect is applied
- Normal blur: soften the normal map
- Flip Green channel