Scene
3D assets are nearly always presented in some sort of space, whether a simple viewport or a render-ready environment. Likewise, on Threedium Platform, a scene is a fundamental part of our workspaces and distributions. In this document, we will take a comprehensive look at scene settings available on Threedium Platform.
Introduction
In order to understand the core function of individual parts of the user interface, we will split the scene setup into three distinguishable categories.
- Scene elements
- Scene settings
- Scene settings for distribution
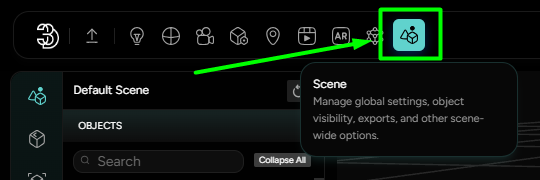
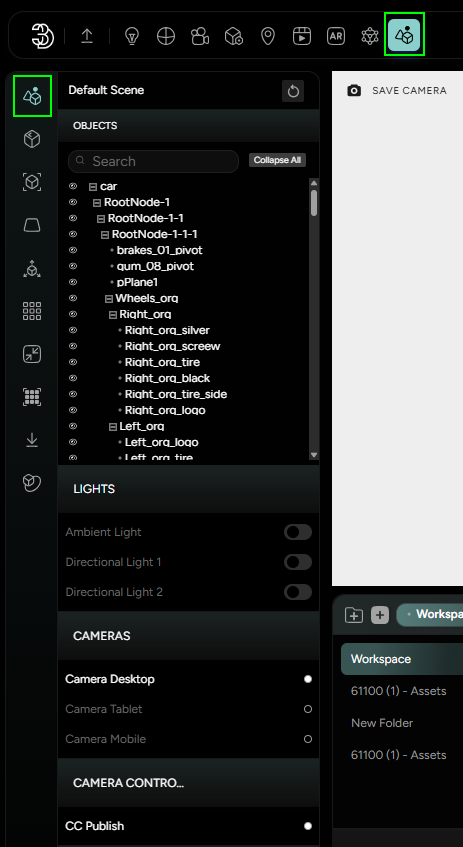
Scene elements can be added via menus available in the Editor Tab/Main Ribbon. Just as Upload button enables mesh import, Lights, Materials, Cameras, Post-Processing, Annotations, Animations, AR and Actions menus (highlighted in Figure 1.) are used to set up individual scene elements.

Scene settings, however, are used to define the state of each scene element in the workspace, or to access their setup panels. Scene settings are located on the right hand-side of the UI.
The Scene menu in the Editor Tab serves a different purpose. Besides being used to set the scene for distribution, it offers other unique features, such as setting up the scene background color, grid, etc.
Scene Settings
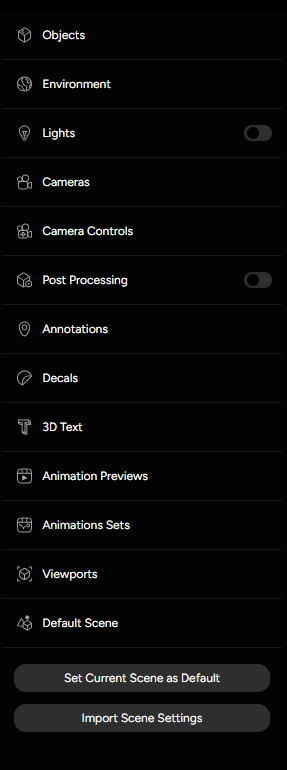
Located on the right hand-side of the UI, scene settings are split into multiple sections. Let’s take a look at their individual functionalities.
Located on the right hand-side of the UI, scene settings are split into multiple sections. Let’s take a look at their individual functionalities.
-
Objects
The Objects section lists out all meshes contained in the workspace. An eye icon is used to present object visibility. By toggling the icon on and off, object visibility can be changed from visible to hidden and vice versa. Via this section, objects can also be updated or deleted. A preview of mesh UVs is enabled by the UV icons, while the object icon presents a shortcut to the Objects panel in the Default Scene settings.
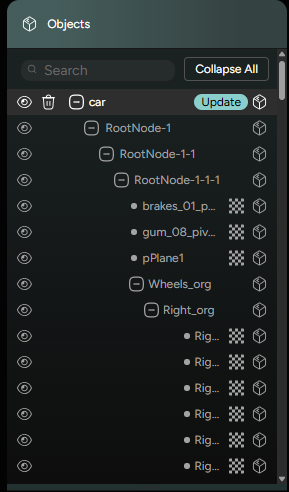
Figure 4. Objects -
Environment
In the Environment section, a toggle is used to enable/disable the environment map, previously set in the Lighting menu.

Figure 5. Environment -
Lights
The Lights section gives and overview of lights. The main toggle is used to activate/deactivate all lights in one go. Individual toggles are used to set the state of each individual light to either active or inactive, while the eye icon displays the light source and target direction, for easier adjustments of light positioning and direction.
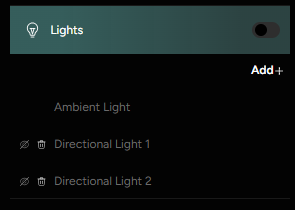
Figure 6. Lights -
Cameras
Available cameras are listed in the Cameras section. As only a single camera can be active at a time, toggles are used to indicate which camera is currently in use.
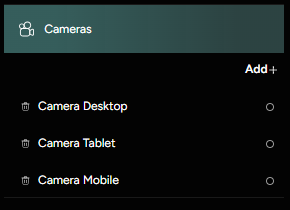
Figure 7. Cameras -
Camera Controls
Similar to camera setup, toggles are used to indicate which of the camera controls is active.
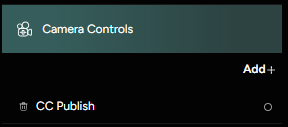
Figure 8. Camera Controls -
Post Processing
Via the main toggle, post processing can be turned on or off. When post processing is turned on, a preset can be chosen from the list.
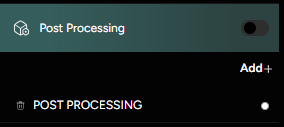
Figure 9. Post Processing -
Annotations
The Annotations section showcases a list of created annotations, which can individually be made visible or hidden by toggling the eye icon.
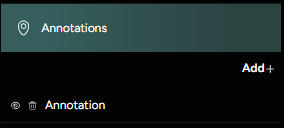
Figure 10. Annotations -
Decals & 3D Text
Similarly, in the Decals and 3D Text sections, decal and 3D text visibility can be toggled on and off. On top of that, decals can easily be deleted by clicking on the trashcan icon.
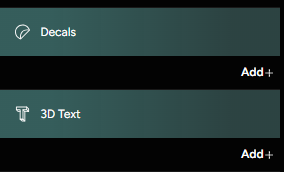
Figure 11. Decals & 3D Text -
Animation Previews & Animations Sets
Animation Previews and Animations Sets sections present shortcuts to their respected panels in the Left-side Editor Menu.
Figure 12. Animation Previews & Animations Sets -
Viewports
The Viewports section lists out created viewports, indicating which viewport is active.
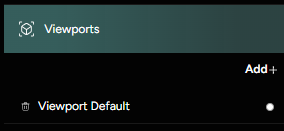
Figure 13. Viewports -
Default Scene
Default Scene presents a shortcut to the Default Scene menu in the Left-side Editor Menu.
Figure 14. Default Scene -
Set Current Scene as Default button
-
Import Scene Settings button
The Scene Menu
The Scene menu, located in the Editor Tab, is split into the following sub-sections:
Default Scene
The Default Scene panel has a structure that is very similar to the Scene Settings:
- Objects
- Lights
- Cameras
- Camera Controls
- Post-Processing
- Annotations
- Decals
- 3D Text
- Ground
- Viewports
- Animations
Is used to define the state of each scene element in the distribution specifically. Therefore, changes of scene settings in the Scene menu won’t be reflected in the appearance of the workspace.
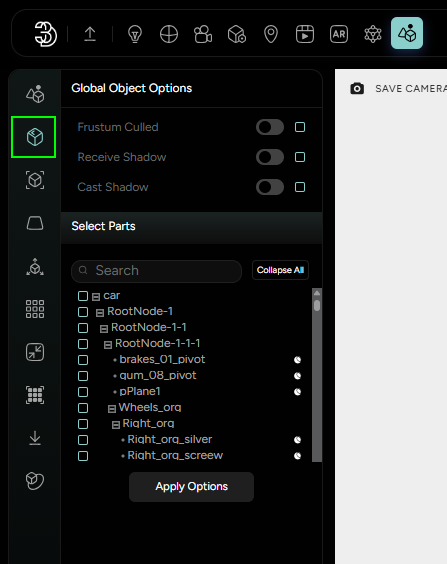
Objects (Global Object Options)
The Objects panel offers the following options:
Frustum CulledReceive ShadowCast Shadow
In order to apply the options, objects (to which these properties should be applied) need to be selected.
Viewport
Properties of the viewport can be changed in the Viewport panel.
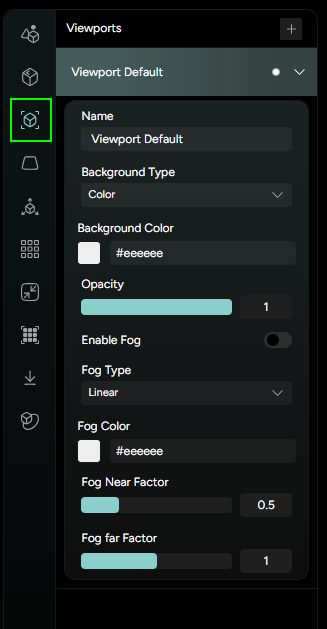
- The Background Type can be set to:
-
ColorThe Background Color is defined by a hex code.

Figure 18. Background Color -
Transparent
Figure 19. Transparent background -
SkyboxThe Skybox mode sets the environment map as the background. By default, the global environment map will be used, however, a different environment map can be imported. The Background Map Intensity and Blurriness values can be adjusted.
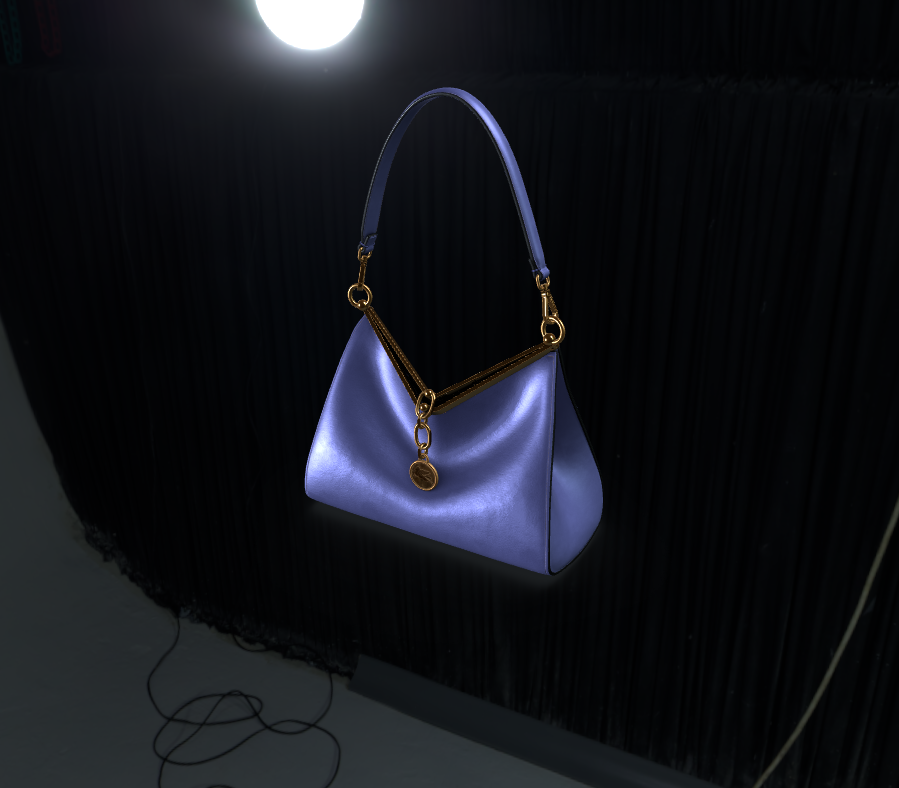
Figure 20. Skybox background 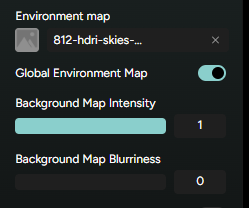
Figure 21. Background options -
StaticThe Static background mode has a similar appearance as the skybox, but the image is static and is more similar to a backdrop.
-
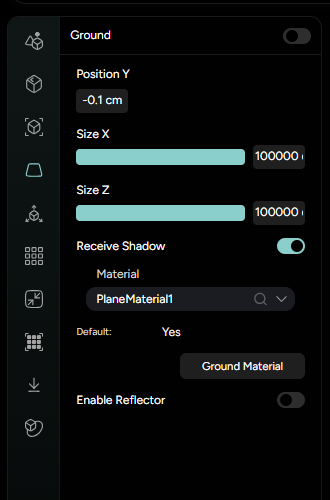
Ground
As the name suggests, a ground can be added to the scene in the Ground panel. It’s properties such as
- Position
- Size X
- Size Y
- Material
- etc.
can be adjusted in the settings.
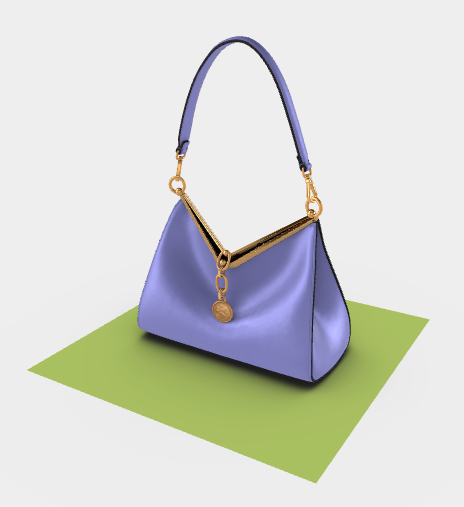
If the ground should receive shadows from objects, the Receive Shadow option should be active. Enable reflector is an option that will add a specular property to the ground, which will result in a mirror-like appearance.
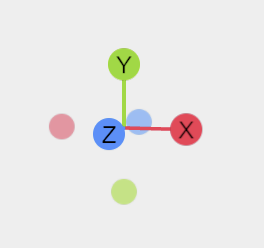
Axes
The Axes panel is used to simply change the scale of the gizmo present in the 3D viewport’s bottom-left corner.
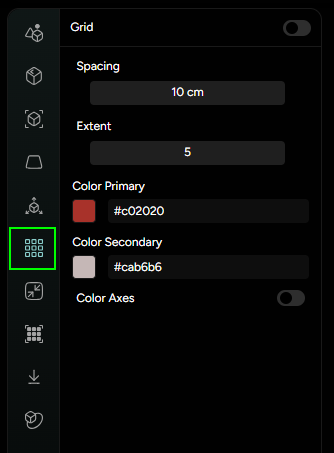
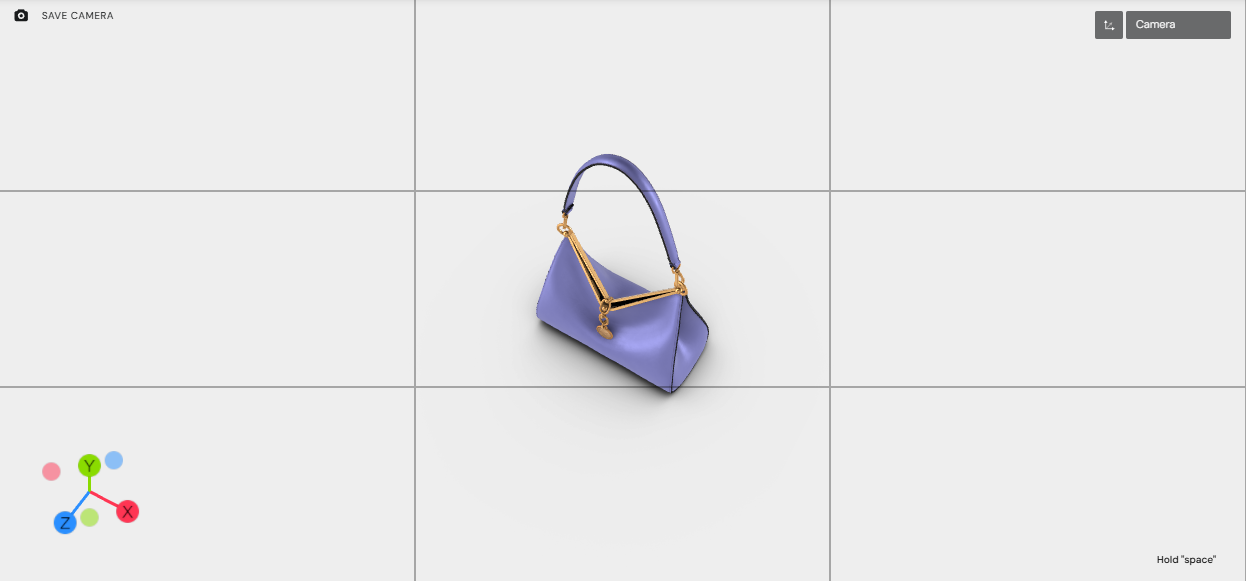
Grid
A grid, which always lays on the ZX plane, can be added to the scene. It’s spacing, extent and color scheme can be adjusted in the Grid panel settings.
Compression
Threedium uses a KTX container file format for texture compression. It enables glTF assets with compact, high-quality textures that can be efficiently converted to GPU compressed textures on diverse target platforms to reduce asset file download sizes AND GPU memory usage.
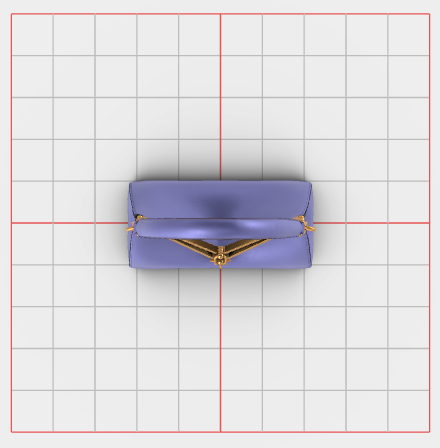
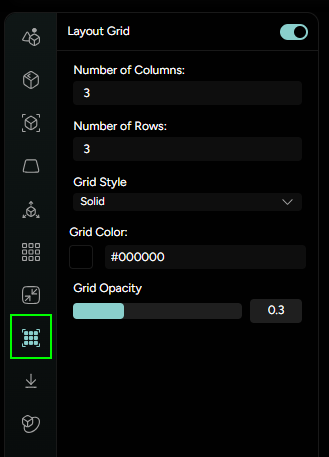
Layout Grid
The layout grid is a static kind of overlay displayed on top of the 3D viewport. It is mainly used as a proportion guide for setting up scene composition.
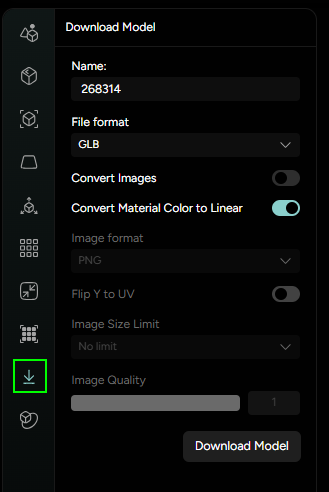
Download
Via the Download panel, a 3D model composed of all meshes present in the scene can be downloaded as either a .glb or .usdz file.
Renderer
Coming soon…